Thermostat Manual for Homeschools: Peak Learning Climate
By Grace Osei • 23rd Mar
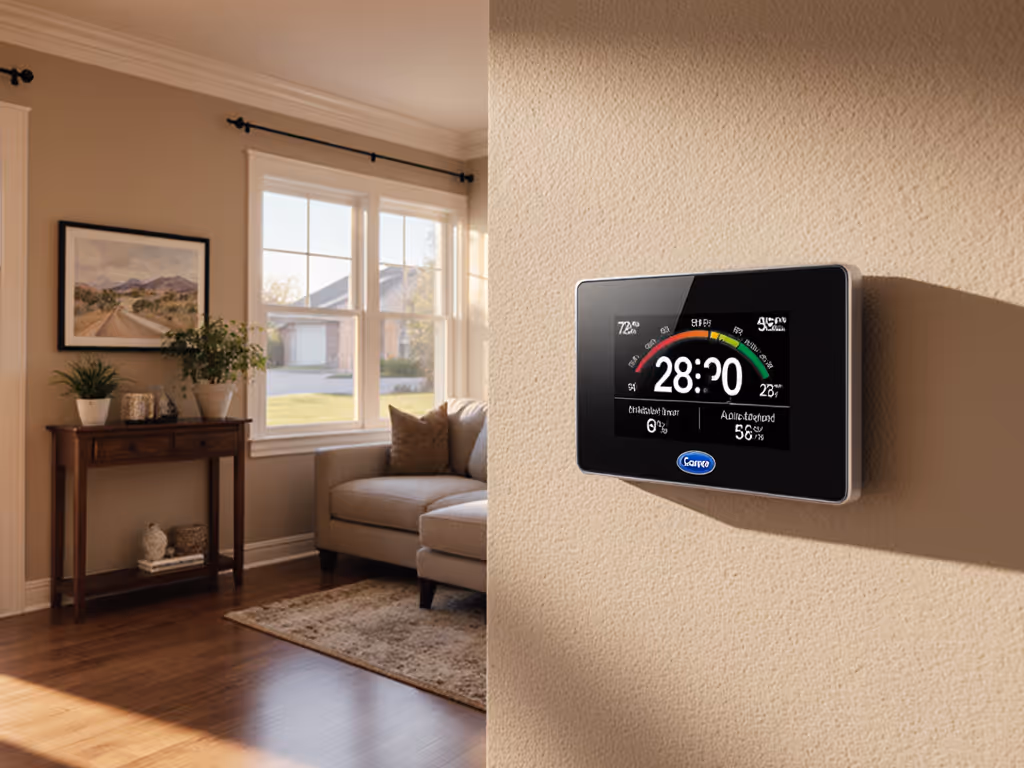
Optimizing your thermostat manual settings for learning environments is less about cutting-edge tech and more about deliberate, stable comfort, the kind that keeps minds sharp and equipment alive. Whether you're running a homeschool out of a spare bedroom, converting a home office into a classroom hub, or managing a property with multiple learning spaces, the right manual approach cuts distractions, keeps energy spend predictable, and removes the guesswork from daily adjustments.
I learned this the hard way years ago. I took over a 12-unit building with mystery wiring and mixed furnaces scattered across different tenant spaces, each with their own climate complaints. After auditing C-wire compatibility and heat-only loops, we standardized on two lockout-friendly models with big, simple displays. Fewer 2 a.m. calls is real ROI you can feel. The lesson stuck: clarity in manual control, combined with the right lockout settings, outpaces complexity every time.
For a homeschool or learning space, the stakes are different but the principle is identical. Students and educators need reliable, transparent climate management, not a device that learns unpredictably or that tenants (or curious kids) can break with random tweaks. This guide walks you through configuring your thermostat to support focus and comfort, then securing it so it stays that way.
1. Run a Quick-Check Compatibility Audit Before Setup
Before touching any wires or navigating a manual, confirm what you're actually controlling.
- Check your HVAC type. Forced air (furnace + AC), heat pump, or radiant heating demand different thermostat logic and wiring. A learning space in a finished basement with radiant floors, for example, won't work with every smart thermostat model. Verify compatibility in the manual's technical specs.
- Locate and label existing wires. Take a photo of your old thermostat wiring before removal. Common labels include R (power), C (common), W (heat), Y (cool), G (fan), and sometimes O/B (reversing valve for heat pumps). If C is missing and your new thermostat requires it, you'll need a power accessory.
- Test for a C-wire if installing a learning thermostat. Learning models with Wi-Fi and displays consume more power and typically need a dedicated common wire. Many older homes lack this; adapters exist, but they add cost and complexity.
- Confirm your furnace or heat pump control board is compatible. Some two-stage or modulating systems, especially those with outdoor condensing units, have specific wiring or sensor requirements.
Do this audit before ordering. A photo, a short YouTube search, or a call to your HVAC tech takes 15 minutes and prevents costly returns.
2. Set Up Zone and Schedule Blocks for Predictable Learning Hours
A learning space thrives on consistency. The manual setup for scheduling varies by model, but the principle is universal: establish a baseline temperature range during active learning times, then allow for slight variation outside those windows.
- Define active learning hours. If homeschooling runs 8 a.m. to 2 p.m. on weekdays, set a "School" schedule block with a target range (e.g., 70-72°F for focus without distraction). Most learning thermostats let you set multiple daily blocks.
- Create an "Off-Peak" or "Break" block for lunch and transition times. A slightly wider band (71-74°F) reduces short-cycling and energy waste without sacrificing comfort for brief breaks.
- Set a weekend or non-instructional block if your learning space also serves other purposes. This prevents the device from fighting unnecessary adjustments.
- Test the schedule in manual mode first. Many smart thermostats let you temporarily override schedules. Use this window to ensure the ranges don't trigger short-cycling or excessive humidity swings before locking them in.
Manual scheduling requires discipline. For step-by-step programming tips (irregular weeks, vacations), see our advanced thermostat scheduling guide. You're not relying on the device to learn your habits; you're telling it explicitly what you expect. For shared spaces or rental properties, this transparency is gold.
3. Configure Temperature Bounds to Prevent Student Override
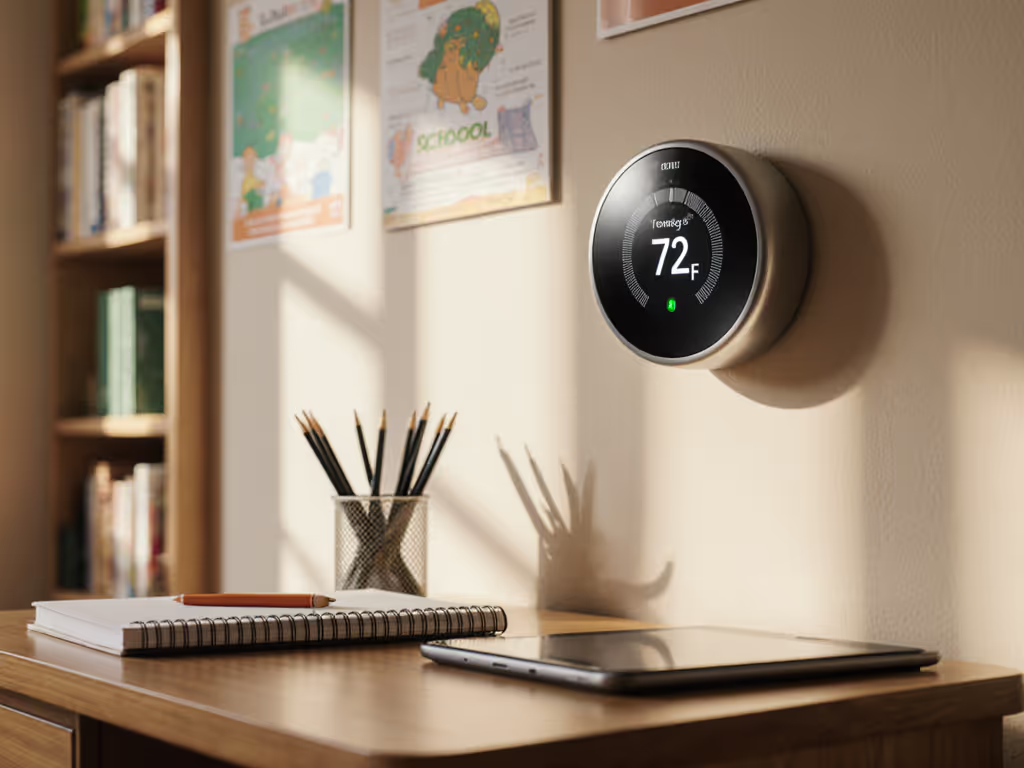
A key feature hiding in many thermostat manual sections is the lock or bounds setting. This is non-negotiable for homeschools and shared learning environments.
- Activate the lock or "Thermostat Lock" feature. On recent Nest models, this is found in Settings > Lock. You can set a PIN code to prevent unauthorized changes.
- Define a temperature range (not a single setpoint). Many advanced thermostats let you allow temperature adjustments within a narrow band (for example, between 69°F and 73°F), even when the thermostat is locked. This lets a student adjust for minor comfort shifts without overriding your heating or cooling logic.
- Set the range tighter during peak learning hours. A 2-3°F band keeps the space comfortable and intentional. Wider bands during off-peak hours reduce energy waste if the space is unoccupied.
- Test the lock before finalizing. Ensure the PIN works, the override band functions as expected, and that the thermostat still responds to scheduled changes even with the lock active.
This step alone prevents "Why is the classroom at 82°F?" complaints. Buy once, cry once, then sleep.
4. Enable Eco and Hold Features for Energy Efficiency During Breaks
Educational spaces have natural downtime: lunch, recess, unscheduled days, or weeks off. Leveraging eco and hold modes reduces energy spend without sacrificing readiness.
- Understand "Eco" mode on your model. Eco typically widens the acceptable temperature band and reduces heating or cooling aggressiveness. On a Nest, selecting Eco mode adjusts setpoints to preset eco temperatures that lower runtime. For a homeschool, activating Eco during lunch or after dismissal can trim 8-12% from daily usage.
- Use "Hold" or "Away" features during extended breaks. If the learning space won't be in use for a week or more, set a temporary hold at a wider, energy-efficient range (e.g., 62°F heating setpoint, 80°F cooling setpoint). This halts schedules without requiring a factory reset.
- Return to schedule mode explicitly. After a hold or Eco activation, manually switch back to your "School" schedule. Some devices auto-resume; others require a manual tap. Check your manual to avoid accidentally running Eco on a Monday morning when students arrive.
5. Test Heat, Cool, and Fan Modes via Manual Diagnostics
Many learning thermostats include a Power Test or Equipment Test function buried in the manual. Use it before occupants arrive.
- Access the Equipment or Settings menu. On Nest 4th generation, this is Settings > Equipment.
- Run a heating test. Activate the heat output for 30-60 seconds and confirm warm air flows from your vents or radiant heating engages. Note any delays or unusual sounds; they flag control-board issues before they become failures.
- Run a cooling test. Activate the AC compressor (or heat pump cooling mode) and listen for the outdoor unit to hum. Verify cool air reaches the thermostat location within 2-3 minutes.
- Test fan-only mode. Confirm the furnace or air handler blower runs independently, useful for circulation without heating or cooling.
- Document baseline temperatures. Record the room temperature before and after each test; this baseline helps you spot performance drift later.
A quick manual test takes 10 minutes and catches wiring errors, control-board faults, or refrigerant leaks before they wreck a school day. If you want proactive alerts and deeper equipment insights, explore smart thermostat HVAC diagnostics.
6. Build a Budget Breakdown: Install, Sensors, Adapters, and Maintenance
Let's be direct about cost. A learning thermostat, installed properly, is not a free upgrade.
| Item | Typical Cost | Notes |
|---|---|---|
| Learning Thermostat (e.g., Nest 4th Gen) | $200-$350 | Varies by region and sales; check utility rebates. |
| C-Wire Adapter (if needed) | $25-$60 | Required if no common wire available; adds complexity. |
| Pro Installation | $100-$300 | Many homeowners DIY; consider hiring if you're uncertain about wiring. |
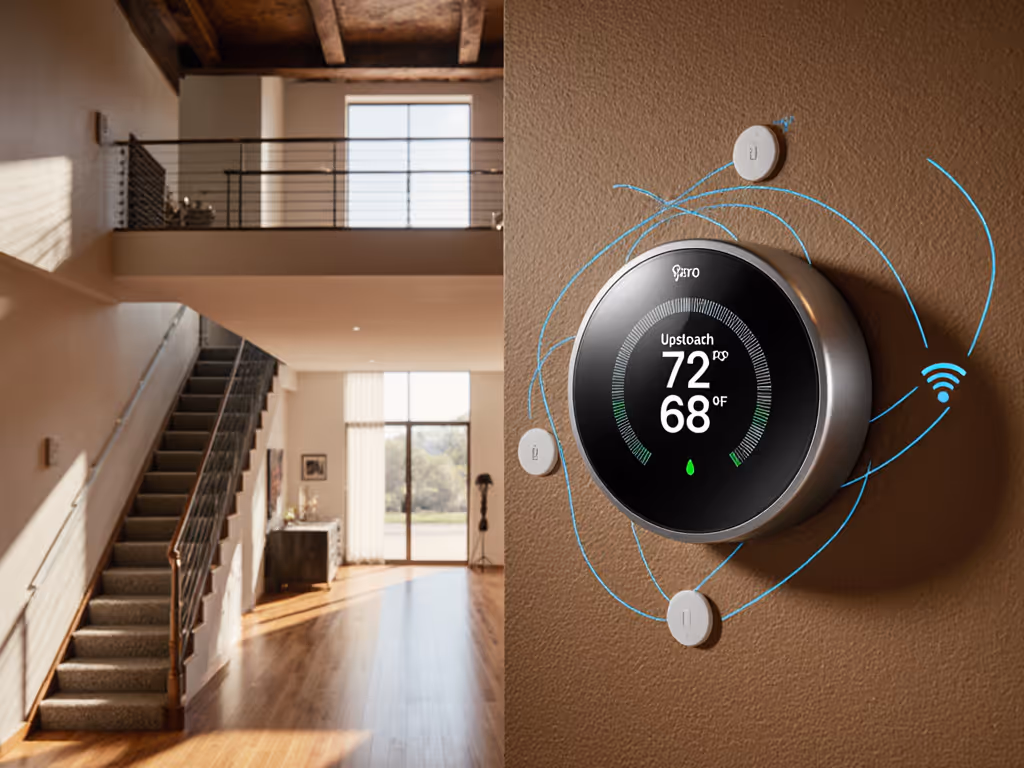
| Smart Remote Sensors (optional, per unit) | $40-$80 each | Not essential but improve room-to-room balance in multi-space setups. |
| Trim Plate or Cover Plate | $10-$25 | Covers old paint lines or wall damage from the previous thermostat. |
| Annual Filter Replacement (furnace/AC) | $15-$30 | Maintain every 1-3 months for optimal airflow and learning accuracy. |
| Preventive HVAC Service (annual) | $150-$250 | Inspect compressor, belts, refrigerant charge; catch issues early. |
Total first-year cost (DIY install, no sensors): $250-$500
Total first-year cost (pro install, one sensor, trim): $500-$900
Annual ongoing (filters + service): $200-$300
The payoff: reduced short-cycling, avoided emergency calls ("Why is there no heat?"), and validated utility rebates often recover 20-30% of the device cost. Start here to find smart thermostat rebates and how to claim them. Fewer 2 a.m. calls is real ROI you can feel, even in an educational setting.
7. Create a Maintenance Checklist and Log
A learning space depends on steady operation. Unlike commercial facilities with service contracts, your homeschool or learning property thrives on disciplined, routine upkeep.
Monthly:
- Confirm thermostat display is clear and responsive. Tap the ring/button to ensure it's not frozen.
- Visually check vents for blockage or dust buildup.
- Glance at the surrounding area for water damage or loose wires (rare but possible).
Every 1-3 Months:
- Replace furnace or AC filters. Clogged filters starve your system and force the thermostat to compensate, raising energy use and runtime.
- Log the date and filter type in a notebook or spreadsheet. Patterns reveal if you're running too hard too often.
Annually (or before peak heating/cooling season):
- Call an HVAC tech for a preventive checkup. They'll verify refrigerant charge, inspect electrical connections, test the compressor, and measure airflow.
- Request a summary report and photos; file it alongside your thermostat manual and wiring diagram.
- If the tech flags any issues, schedule repair promptly. Small problems cascade into comfort failures during a busy school week.
Every 3-5 Years:
- Review your thermostat's software version (found in Settings > Version or equivalent) and install any available updates. Updates often fix edge cases in learning logic or improve compatibility.
- Audit your temperature schedule to reflect any curriculum or space-use changes.
Maintenance tips sound tedious until you're the one explaining to an unhappy educator or parent why the space is 78°F during a math block. A simple checklist prevents that conversation.
8. Tenant-Proof Your Thermostat Against Misuse
If your learning space is a rental room, a shared homeschool co-op, or a multi-family property with educational use, assume users will find creative ways to break things.
- Lock the thermostat with a PIN code. This is the first line of defense. Without a PIN, a curious child or frustrated renter can flip modes, unlock a heat pump's emergency heat, or delete your schedule.
- Document the PIN and lock settings in writing. Give a printed copy to educators or managers; keep a separate backup for yourself. Do not email it or store it in a cloud folder shared with tenants.
- Disable "Learning" mode if your model offers it. Traditional Nest Learning Thermostats adjust heating and cooling based on your manual adjustments over time. In a shared learning space, this is a liability, you want predictable behavior, not a device that surprises you. Disable auto-learn and rely on your locked schedules instead.
- Turn off remote app access for non-admins. If the thermostat is connected to a Google Home or Nest app account, ensure only you (or a designated facilities manager) have edit permissions. Guests and students should see status only, not control.
- Restrict mode changes on the physical device. On some Nest models, you can lock specific settings while allowing others. For instance, allow users to see the temperature and read the schedule, but disable the ability to switch from Heat to Cool.
- Set an Away or Eco mode for unattended periods. If the learning space sits empty on weekends or during school breaks, a temporary hold at an energy-efficient setpoint protects both comfort and your heating/cooling equipment during idle time.
9. Integrate Humidity and Air Quality into Your Climate Strategy
Optimal learning happens between 40-60% relative humidity. Too dry causes respiratory discomfort and static electricity; too humid breeds mold and fatigue.
- Check if your thermostat monitors humidity. Many smart models (including Nest) display humidity on the display or in the app. This is a passive feature; it tells you what's happening but doesn't automatically adjust.
- Add a humidifier or dehumidifier if humidity swings are frequent. See our humidity control features comparison to pick a thermostat that manages humidification and dehumidification well. This is a separate device and system; not all thermostats control humidifiers directly. Check your model's compatibility manual. If your thermostat doesn't support humidification control, manage it manually or pair it with a humidifier that has its own sensor and schedule.
- Ensure adequate ventilation. A sealed learning space with many occupants will accumulate CO2, moisture, and odors. If your home has a central return-air vent, confirm it's not blocked. Some advanced thermostats support ERV (Energy Recovery Ventilator) control; confirm in the manual if yours does.
- Monitor indoor air quality over time. Poor humidity or stale air often shows up as complaints before it shows up on a sensor. Keep a log: "Room felt stuffy on Tuesday; humidity was 65%." Use that data to tune your humidification or ventilation strategy.
Summary and Final Verdict
A thermostat manual for a homeschool or learning space is not just a user guide: it's your playbook for predictable, defended comfort. The steps above: compatibility audit, scheduled blocks, lockout configuration, equipment testing, cost planning, maintenance discipline, tenant-proofing, and humidity awareness, form a checklist that transforms a smart thermostat from a convenience into a reliable tool.
The core belief that has shaped my work applies here: The right thermostat reduces calls, protects equipment, and pays back fast. In a learning environment, calls are disrupted lessons; equipment is your furnace or heat pump; and pay back is stable grades, teacher retention, and energy savings.
Choose a thermostat model that matches your exact wiring and heating/cooling type, not the flashiest one. Lock it deliberately, audit it annually, and document every step. A homeschool or educational co-op that operates at a consistent, comfortable temperature with no surprise breakdowns and no tenant vandalism is a space where learning thrives.
Buy once, cry once, then sleep. Your thermostat manual is the map; your discipline in following it is the difference.
Related Articles