Ceiling Fan Thermostat Integration: Setup FAQ
By Aiko Tanaka • 28th Apr
Smart thermostat ceiling fan integration has become essential for homeowners seeking to optimize HVAC energy savings and comfort consistency. Yet integrating a ceiling fan thermostat control system with your broader smart home remains fraught with compatibility missteps, wiring ambiguity, and platform fragmentation. This FAQ Deep Dive addresses the architectural questions and failure modes you must understand before attempting your own setup (with emphasis on designing systems that function reliably when the cloud cannot).
What Is Ceiling Fan Thermostat Integration, and Why Does It Matter?
Ceiling fan thermostat integration couples your thermostat's temperature logic with ceiling fan speed automation, allowing the two systems to coordinate based on season, time of day, and occupant preferences. Rather than running your ceiling fan on a fixed speed or manual switch, modern integration links fan speed automation to your heating or cooling cycle (for example, enabling the fan to operate at a lower speed during heating to push warm air downward without triggering the AC, or ramping it up during cooling to improve air circulation and reduce compressor runtime).
The benefit is dual: temperature-triggered fan control reduces energy consumption by supplementing mechanical heating or cooling with passive air movement, and it distributes conditioned air more evenly across your home. A ceiling fan running at 30% during a heating season can reduce stratification and lower your effective setpoint by 1-2°F, which is meaningful over a season. For homes with vaulted spaces or lofts, see our high ceiling stratification guide for sensor placement and fan strategies.
However, the integration landscape is fractured. Not all thermostats expose fan relay control to HomeKit, Google Home, or Alexa; not all ceiling fan switches accept low-voltage 24V signals; and many integrations depend entirely on cloud orchestration, a liability if your internet drops. Design for offline first, and you avoid the scenario where an internet outage forces you to manually manage fan and thermostat separately. For a model-by-model breakdown of which thermostats keep working when the internet is down, see our offline-capable smart thermostats comparison.
Which Smart Home Platforms Support Smart Home Ceiling Fan Coordination?
HomeKit (Apple) offers the most granular local control. HomeKit thermostats and fan switches communicate over Thread or Wi-Fi, and automations, including scenes that trigger fan speed alongside setpoint changes, execute locally on your hub (HomePod mini, Apple TV, or iPad) rather than Apple servers. This is mission-critical: during a storm or ISP outage, your automations remain active. A HomeKit scene might read, "When heating mode activates and temperature drops below 62°F, set the fan to 40% speed," and that logic never touches the cloud.
Google Home and Alexa, by contrast, rely more heavily on cloud routing for coordination. While Google Home has local fulfillment in some cases, most smart home ceiling fan coordination flows through Google's servers, creating a single point of failure. During the 2021 internet disruptions, Google Home users lost thermostat access entirely for hours.
Matter and Thread (Thread specifically being a low-power mesh protocol) promise interoperability and local routing, but adoption remains incomplete. A Matter-certified thermostat and fan switch should, in theory, communicate via Thread without cloud mediation, but today most vendors still gate coordination features behind their proprietary cloud apps.
Recommendation: Prioritize HomeKit if local resilience is non-negotiable. If you use Google or Alexa, ensure your thermostat has a local fallback mode (manual temperature adjustment and fixed-speed fan operation) if cloud connectivity is lost.
What Wiring and Protocols Do Ceiling Fans Require for Smart Integration?
Ceiling fans fall into two electrical categories:
Low-voltage (24V DC or 24V AC): Premium smart ceiling fan switches (such as WiFi-enabled relay modules installed in the fan's canopy) accept a 24V signal from your thermostat or smart control relay. These are rare in retrofit installations but increasingly common in new construction and smart home retrofits. Wiring is straightforward: a two-wire 24V line from your thermostat (or hub-based relay) to the fan switch, plus neutral and ground. The advantage is that the fan integrates seamlessly with your thermostat's existing 24V control infrastructure.
Line-voltage (120V or 240V AC): Most residential ceiling fans receive full-voltage power directly from the circuit breaker or a wall switch. To add smart control, you replace the wall switch with a smart switch (Wi-Fi, Zigbee, or Z-Wave) or install an inline relay. The catch: line-voltage switches cannot receive a signal from your 24V thermostat wiring without a bridge device or hub. You must use a separate smart platform (HomeKit, Google, Alexa) to coordinate the fan and thermostat, and that coordination is cloud-dependent unless your hub supports local automations.
Best practice: If you are installing a new smart thermostat and want true integrated control, verify that your furnace or air handler has two accessible thermostat wire terminals for a fan relay output (often labeled F or FM on the equipment). Run a dedicated two-conductor 24V line from that relay to a low-voltage fan switch in the fan's canopy. This isolates fan control from line-voltage switching and ensures your thermostat can command the fan directly and locally.
Can a Ceiling Fan Reduce My Heating or Cooling Costs?
Yes, but with caveats. Ceiling fan use during heating can lower effective room temperature by 1-3°F through downward air circulation, reducing furnace runtime. Studies from the Department of Energy confirm that moving stratified warm air downward can reduce heating energy use by 3-7% in two-story or vaulted homes during winter (provided the fan is off during cooling months; a fan running in summer accelerates heat gain, wasting AC energy).
During cooling, ceiling fans improve comfort at a given setpoint without lowering the thermostat, allowing you to raise your cooling setpoint by 2-4°F and offset the fan's small electrical draw. A ceiling fan uses roughly 15-30 watts at medium speed; your AC compressor uses 3,000-6,000 watts. If the fan allows you to reduce AC run-time by 5-10%, the net energy savings are positive.
Critical dependency: These savings depend on temperature-triggered fan control. A ceiling fan left running continuously consumes 130-260 kWh per year (at $0.14/kWh, ~$18-36/year), offsetting any heating savings. Manual fan management defeats the purpose. Automation (via your thermostat's fan relay or a coordinated smart scene) is essential to capture the economics.
How Do I Avoid Bricking My HVAC Equipment During Installation?
The most common pitfall is reversing the fan relay polarity or connecting the fan switch to an unintended thermostat terminal. Before you touch any wires: If you're debating whether to handle this yourself or hire a pro, read our DIY vs pro wiring guide for realistic complexity and cost breakdowns.
- Photograph your existing thermostat wiring. Note each wire's color, terminal label, and gauge. If wires are unlabeled, use a multimeter to identify which terminal carries 24V (typically the + or C terminal for common/return).
- Consult the thermostat manual for your exact model. Fan relay outputs are often optional and may require a firmware or configuration setting to enable. Many thermostats ship with the fan relay disabled.
- De-energize the system. Turn off the furnace/air handler and the thermostat breaker before making any connections.
- Test fan relay function in isolation. If your thermostat has a test or diagnostic mode, use it to verify the relay clicks when you trigger heating or cooling mode. Do not assume the relay works; confirm it.
- Wire the fan switch in a failure-safe state. If your 24V line is interrupted or the relay de-energizes, the fan should stop or default to a safe speed (not maximum, which can cause motor strain). Most low-voltage fan switches default to off when unpowered, which is correct.
- Phase in incrementally. After wiring, restore power and test heating/cooling activation without the fan connected. Confirm the thermostat cycles and your furnace/AC responds normally. Only then energize the fan circuit.
If at any point the furnace fails to ignite or the AC doesn't cool, immediately kill power and retrace your steps. Do not leave the system running.
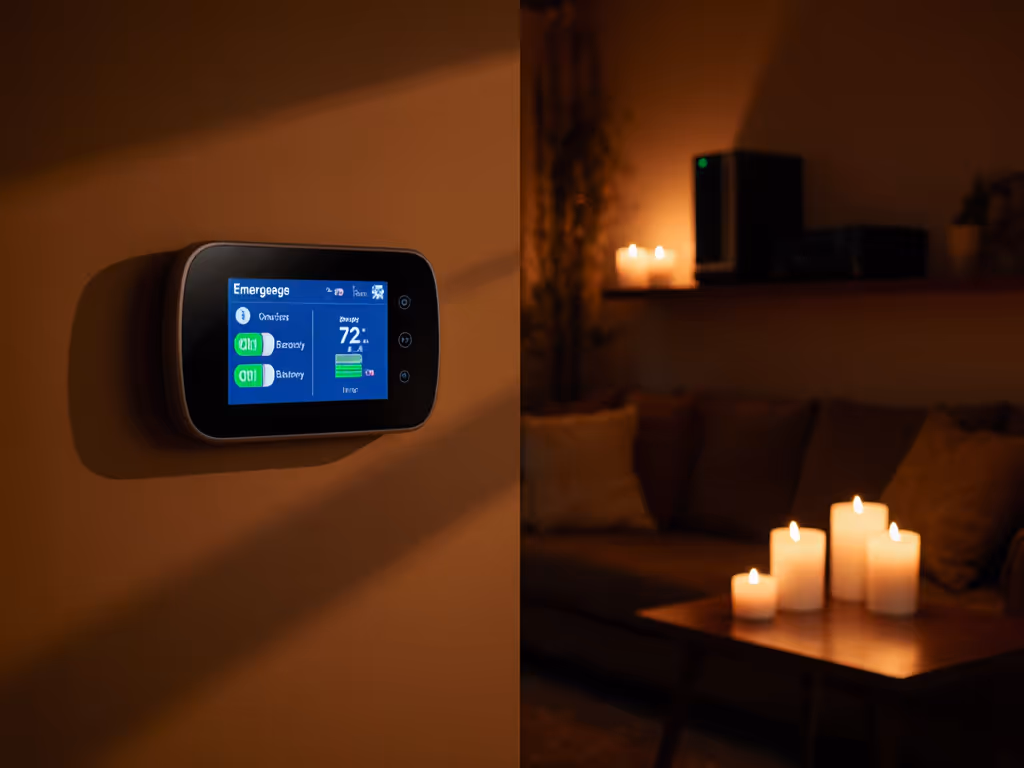
What Happens to My Ceiling Fan and Thermostat If the Internet Goes Out?
This is where architecture reveals truth. A local-vs-cloud capability table for your setup should look like this:
| Function | HomeKit (Local) | Google Home (Cloud-Dependent) | Matter+Thread (Emerging) |
|---|---|---|---|
| Thermostat maintains setpoint | ✓ | ✓ | ✓ |
| Fan relay responds to thermostat | ✓ (if 24V-wired) | ✗ (unless WiFi returns) | ✓ (if Thread mesh alive) |
| Scene/automation triggers | ✓ (on local hub) | ✗ | ✓ (on hub or Matter border router) |
| Manual override via app | ✗ | ✗ | Limited |
| Manual wall control | ✓ (if switch has bypass) | ✓ (if switch has bypass) | ✓ (if switch has bypass) |
Here is the reality: cloud-dependent platforms lose thermostat and fan coordination during internet outages. Your thermostat will still maintain its last setpoint (it has a local schedule), and the furnace will heat or cool based on that setpoint. But if you have a Google Home or Alexa scene that says "When it's morning, lower the heat to 65°F and set the fan to 40%," that scene will not trigger. Your fan will sit idle, and your thermostat will not adjust unless you override it manually.
With HomeKit and a local hub (HomePod mini, Apple TV 4K, or iPad), automations continue to execute even if your internet is down, provided your thermostat and fan switch are on Thread or Wi-Fi and connected to the hub via a local network mesh. This is not theoretical redundancy; it is operational necessity. Two winters ago, a late-night storm killed our ISP for 36 hours. Our HomeKit-based radiant floor thermostat and zone automations never skipped a beat; the house stayed at 68°F via pre-scheduled scenes. Neighbors with cloud-only systems had to manually adjust their thermostats every few hours.
Privacy disclosure: Cloud-dependent thermostat platforms can log your scheduling patterns, occupancy (when you are home), energy usage, and even inferred activities (e.g., "resident usually home weekdays 9 AM-5 PM"). HomeKit encrypts schedule and automations end-to-end, meaning Apple cannot see your rules; Google and Amazon retain the right to store and analyze your data for service improvement and targeted advertising. If privacy is a concern, local coordination is non-negotiable. Learn how to lock down data sharing, network access, and app permissions in our smart thermostat privacy guide.
What Should I Look For in a Smart Ceiling Fan Switch for Integration?
If you are retrofitting an existing ceiling fan with smart control, prioritize these attributes:
- Multi-protocol support: Ideally WiFi + Thread or Zigbee, so you are not locked into a single ecosystem. Matter certification is a plus.
- Local control: The switch should function and respond to manual pull-chains or buttons even if the cloud is down or the switch is offline from its hub.
- Dimmable vs. multi-speed: A dimmable switch (0-100%) offers finer control than discrete speeds (off, low, medium, high), but dimmable switches are rarer and may not work with all fan motors. Verify compatibility with your fan's motor before purchasing.
- Neutral wire required: Most smart switches require a neutral (white) wire in the switch box for a power supply. If your home lacks neutral wiring in the switch box (common in older homes), you'll need a bypass capacitor or a more expensive switch model.
- Manual override: Ensure the switch can be turned on and off or speed-adjusted via a physical button or pull-chain, independent of WiFi. This is your fallback when cloud is down or the app misbehaves.
- Thermostat compatibility: If you want the fan to respond directly to your thermostat's 24V fan relay, the switch must accept 24V low-voltage input. Most WiFi switches do not; you'll need a relay module purpose-built for 24V trigger input.
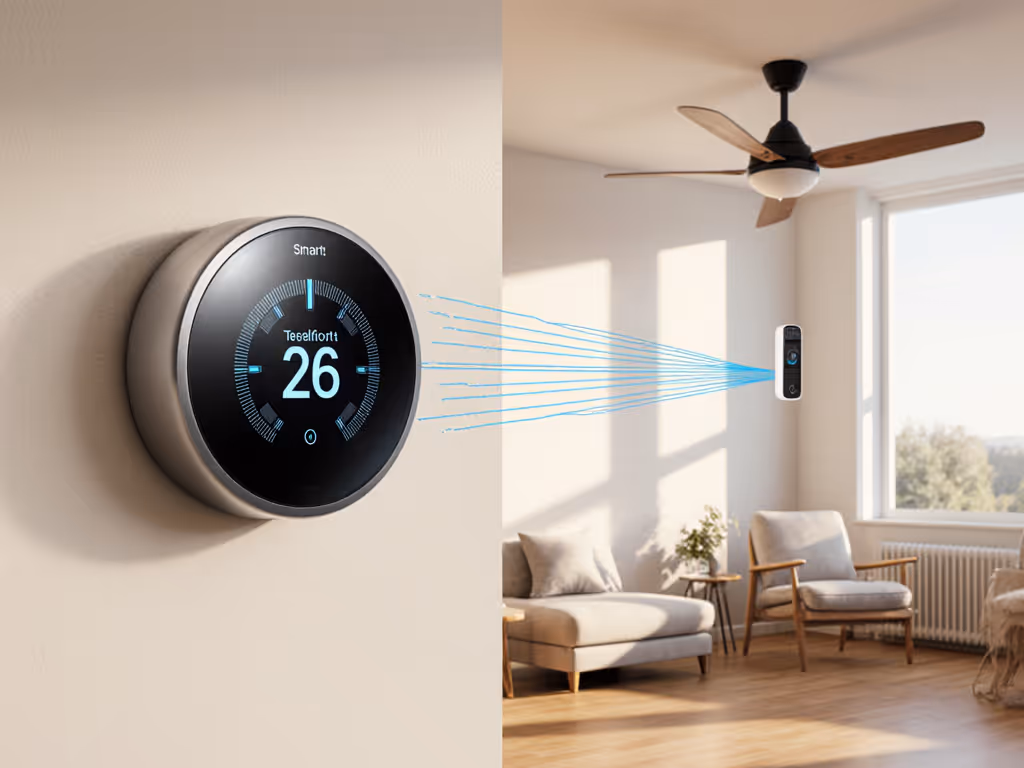
How Do I Set Up Temperature-Triggered Fan Control Without Cloud Orchestration?
The cleanest method is 24V direct wiring:
- Confirm your thermostat exposes a fan relay output (labeled F, FM, or Fan Relay). Consult the manual; you may need to enable it in settings.
- Run a two-conductor low-voltage wire from the thermostat's fan relay terminals (typically +24V and F/FM) to the fan switch's input terminals. Use a thermostat wire gauge appropriate for your run length (typically 18-gauge, 50+ feet; 16-gauge for longer runs).
- Program the thermostat to activate the fan relay during heating mode (e.g., "Fan ON when furnace is heating") and disable it during cooling or standby. Many thermostats allow you to set a minimum fan run time (e.g., 5 minutes per hour) to avoid constant on-off cycling.
- Test: Enable heating; verify the relay clicks and the fan engages. Disable heating; verify the relay opens and the fan stops.
This setup is architecture-first and requires no cloud, no app, no WiFi. The fan will run whenever your thermostat detects a heating call, and it will stop the moment heating ends, all determined locally by the thermostat's own logic.
If your thermostat lacks a fan relay output or you prefer to use existing wall switches, you must rely on a smart home platform (HomeKit, Google, Alexa) to coordinate the thermostat setpoint and the fan switch via scenes or automations. In that case, ensure your platform supports local execution (HomeKit with a local hub, or Google Home with certain firmware versions), and accept that coordination will be unreliable during internet downtime.
What's the Path Forward with Matter and Thread?
Matter is a nascent but promising standard. Before buying, review our Matter thermostat compatibility checklist to avoid ecosystem dead-ends. Devices certified for Matter can interoperate across platforms (HomeKit, Google, Alexa, Samsung SmartThings) without proprietary apps or cloud lock-in. Thread, a mesh protocol, allows Matter devices to communicate via short hops over a low-power network, eliminating reliance on WiFi and enabling local automations even if your router is offline.
Today, Matter-certified thermostats and fan switches are emerging but not ubiquitous. By 2026, expect more options. If you are planning an integration now, prioritize Thread-capable devices (look for a Thread logo on the box). Deploy a Thread border router (HomePod mini on HomeKit, or a dedicated Matter hub from your chosen platform) to anchor the mesh. As your ecosystem matures, Thread will become your de facto standard for local control, cloud optional, resilience guaranteed.
Design for offline first. Choose devices that function meaningfully without connectivity, and build automations that execute locally. The upfront complexity is worth the peace of mind when the internet fails or your platform's cloud services stutter.
Further Exploration
For deeper guidance, consult your thermostat and fan switch manuals to confirm fan relay pinouts, Thread or Matter certifications, and local automation capabilities. Join your platform's community forums (r/HomeKit, Google Home subreddit, or Alexa support threads) to see if other users have successfully integrated your specific thermostat and fan switch combination. Request technical support directly from the manufacturer if wiring or firmware questions remain unresolved. Your goal: a dependency diagram you understand, a failure mode you have tested, and comfort that persists regardless of cloud state.
Related Articles